Tuesday, August 5, 2014

subframe mount kickoff

I did not have a solid plan I liked for the subframe mounts until today.  A few ideas without a home suddenly came together in my head and I decided to get started.

May the swarf be with you!:

I got really smooth plasma drags today.  Left an awesome edge on each side of this angle cut from a box:

Crud.  Why did I expect either the rail or the bracket to be 90°:

To thick to beat with a hammer.  Wrong direction to squeeze in a vice.  I have some ideas.  Hopefully one of them is a good idea...


Saturday, August 2, 2014

Blue and in the corner by the time I get back

That was what my advisor told me once of a material rack he wanted me to design and build while he was away.  At that time I was really underprepared to be designing or making pretty much anything.  I did not complete the assignment in time.  I remember all this because what he told me when he got back turned out to be the best advice I have ever gotten and something that I recently passed on to someone who needed it.  He told me that it is very easy to roughly design something; It is going to be this big and go there.  That scale of effort isn't worth anything to anyone.  Everything is in the little details that need to be thoughtfully attended to.

I have seen this come up over and over again in my short career.  When I have intentionally focused on all the little details it has ALWAYS made a huge difference in everything.  It makes minor and major projects alike go so much more smoothly and it is the difference between really impressing people and amateur hour.

Only reason I chucked that all out there now is that "blue and in the corner" is what these mounts ended up being:  Painted the DS:

 Passenger side mount gusset

I noticed a sort of centipede appearance to many of my welds that I am sure was from my zigzag motion being a little too big for the travel speed.  I switched to a swirling motion and it really helped smoothed them out.

Once again pulled out a good one when it mattered.  Again like golf I sort of practiced the motion and speed ahead of time once before spraying metal.

 Blue and in the corner.  Let's hope it stays there!  It's well rook for your engine to fall out.

Friday, August 1, 2014

engine mount #1 done

As some of you know I nearly broke my arm with a 2x4 that got spun by the drill press a couple weeks back.  I bought a vice to prevent the drill press from finishing the job.  The unexpected benefit was that now I have a free hand to spray oil while cutting and it goes much quicker now with less heat.

 fit up:

Weld prep.  I learned to not use flap disks except for very light duty like scale removal.  Otherwise you smoke through them at $5 each.

Gusset added:

Tacks at this angle were very tricky to pull off:

 First weld that does something important (holds the engine in the car).  Great that I got a good one.

Ready to clean, paint and install.

Wednesday, July 30, 2014

Start of the DS engine mount

I was planning to post when this was done, but I lost a few days to doing actual work in the evening.  I also posted now since this is a pivotal day:  This is the first day where my effort takes me closer to a working car instead of further from a working car.  I always feel better after that key moment.

Here is the space to be filled with the mount:

 I had some 4 inch 3/16 thick box tube around so I decided to use that.  Since the plasma doesn't leave that nice of an edge, I started cutting with the cutoff machine, which was epic.

 I decided to try the plasma with a guide.  It doesn't do bad.  I just left it a little strong, scribed the line I really wanted then used the bench grinder to take it to the line.  MUCH quicker.  Abrasive cut off machine cut 5 inches in about 20 minutes.  Plasma cut 5 inches in about 10 seconds + 5 minutes on the grinder.  In the image below top edge was plasma (shown pre-grind), bottom edge was cut off.

 Plasma with a guide:

Here is the tube in the car.  Yes, there will be more bracing to be added to the mount, don't get excited.(even though a quick FEA indicates that this actually is enough...)

Sunday, July 27, 2014

loading it all back in there

I loaded the engine and trans back in there, and put the subframe where it should be.  I also loaded the structure for the interior back in there to see what my options will be for the steering column.

Everything in there looking tidy.  I over exposed this to show some of the detail not normally visible.  My marker lines on the floor and the engine stand made it pretty easy to position the engine exactly where it was before.


Progress.  #4 should be "kill huge horse flies all over the place."  While I am on the subject at least one mouse has eaten the poison I put out.  Hopefully he hasn't chosen the Lotus as a quiet place for his dirt nap.

Here you can see the steering column hanging down inside the car.  The slot that it went through is pretty far to the right.  I am thinking that I could flop over and create up to that same angle to the left and a little higher up and have an easy time of making the angles I need down to the rack.

Suddenly lots of room in the shop with the engine, trans, subframes, and dash frame all in the car.  Must fight the urge to buy equipment! (JK)  


Thursday, July 24, 2014

from here to there, funny things are everywhere

I had life shut out car work for about a week.  It was good to get a break, and I am glad I have gotten back to this without letting too much time slide by.  I mapped out the next few steps and they are pretty big ones:

For those of you not accustomed to the scrawls of a left handed person who writes with his right hand:
1) position subframe
2) engine in
3) confirm clearances (steering column!)
4) ?
5) motor mounts
6) wrap frame rail
7) hang motor
8) subframe stiffeners
9) tranny mount
10) close tranny hole

This is exciting because it will mark the end of the heavy industry that has been taking place at the front of the car.  I pretty much completed number 1 today by continuing to cut with the plasma and a cutting disk to whittle away at whatever was touching and then leave a little clearance everywhere:


Sunday, July 13, 2014

welding rack

I ordered steel a few weeks back from metalsonline.com.  They are awesome by the way.  You can build an order online of whatever you want and even really small quantities.  The prices seem pretty good and it is here in a couple days.  Once it all showed up the steel and the plasma cutter with no home just sort of made moving around in the shop impossible.  In my steel order was a bunch of .065 wall 1.25 box tube to build a welding rack with to open up some space.

The old setup:

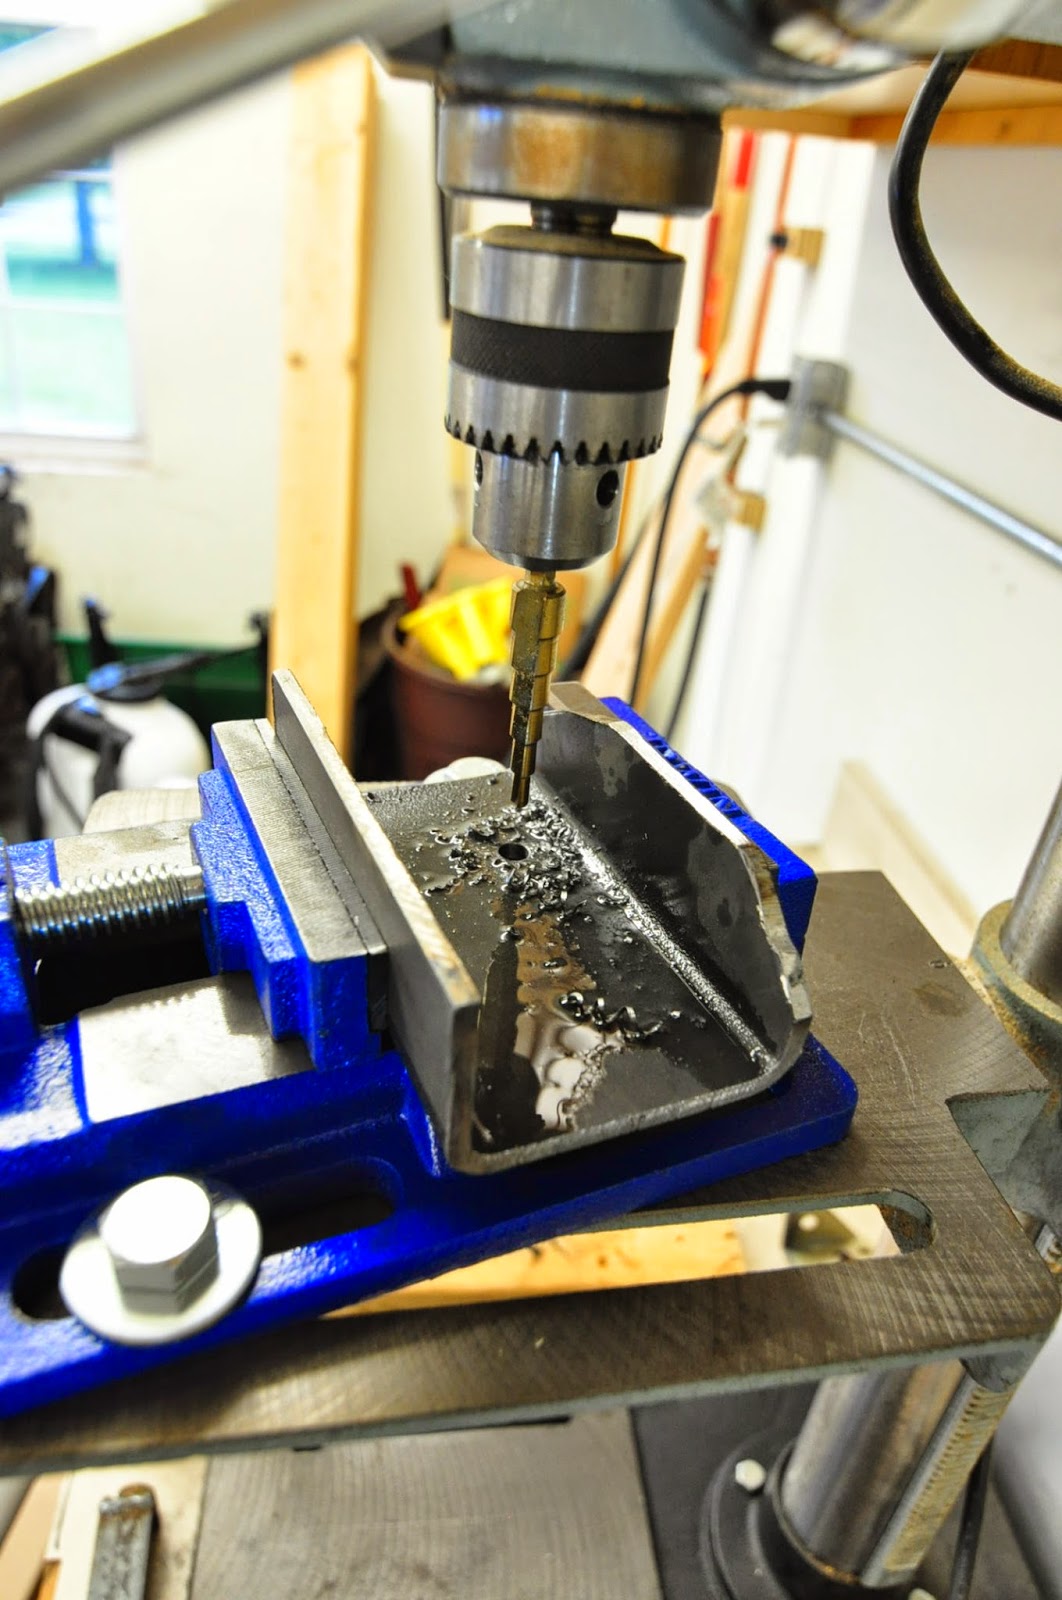
This was the first time for metal fab with tubing.  I learned a couple things.  If you leave a slight gap as some suggest then your initial tack welds will pull like crazy.  Since I was not leaving gaps,  I beveled the pieces fitting together to make sure I got penetration.  I learned it is easy to bevel it too much, which basically guarantees a burn through.  For joints as shown below, no bevel was needed since the curved edge of the tube essentially provides that.  For the mitered corners, a slight bevel helps.  After the first tack, I recheck square.  If it is off I use a block of wood and a hammer whack it back square.  By doing this, I was amazed how dimensionally stable, accurate, level and perpendicular everything turned out.  WAY better than making things with wood.

I also did most welds in this project by pushing whereas in the past I almost always pulled.  I had always been spooked out by pushing you can't see the puddle or your seam since the gun is in the way.  Pushing is the way to go.  You can see well enough, and it gives a much better looking weld.  It is amazing how something that seems so trivial makes such a huge difference.

I feel like welding is sort of like playing golf.  When you are a novice, you have a weird mix of amazingly good welds that occur with little warning sprinkled among awful to acceptable most of the time.  Prep is almost everything, and fortunately the learning curve is shorter than learning golf.

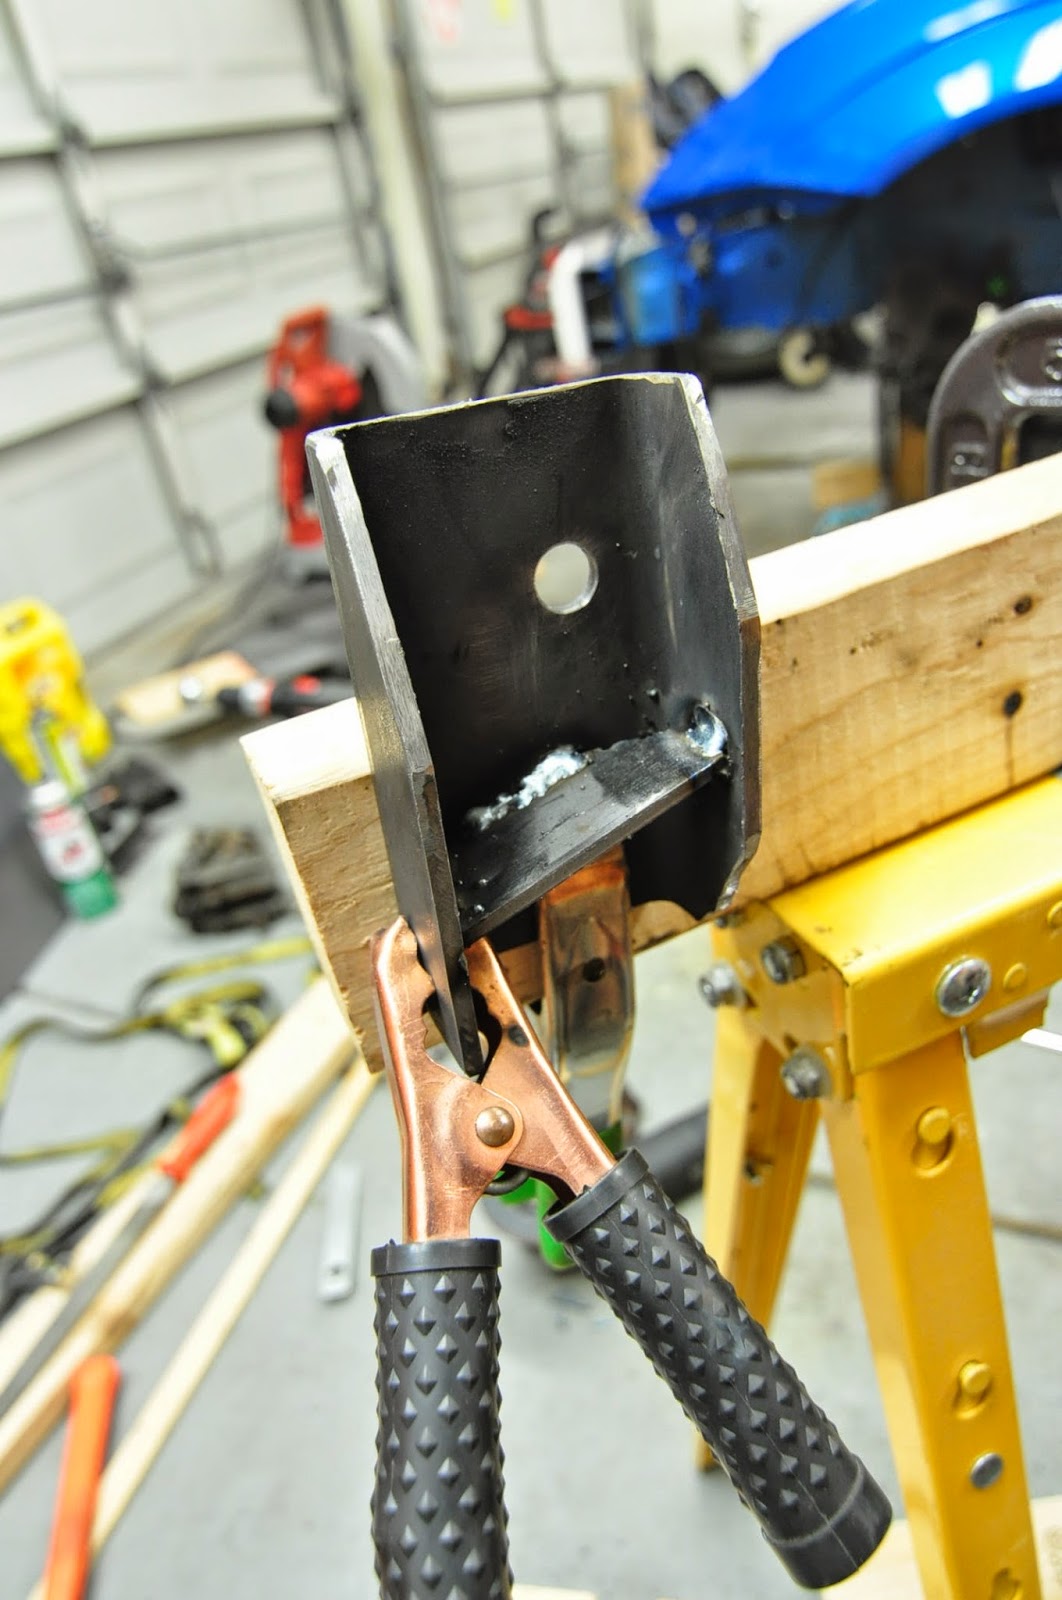
To close up the outside of the miter, I turned the heat down and slowed the wire speed.  Instead of zig zagging, I just pulled the weld straight and steady down the corner.  Then ground it down.  It worked really well.
I ordered some plastic caps from USplastics.com to close out the ends of the tube.  They are cheap and they sell small quantities. The caps really help clean up the look most importantly keeps the spiders mice and centipedes from having a safe place to live.


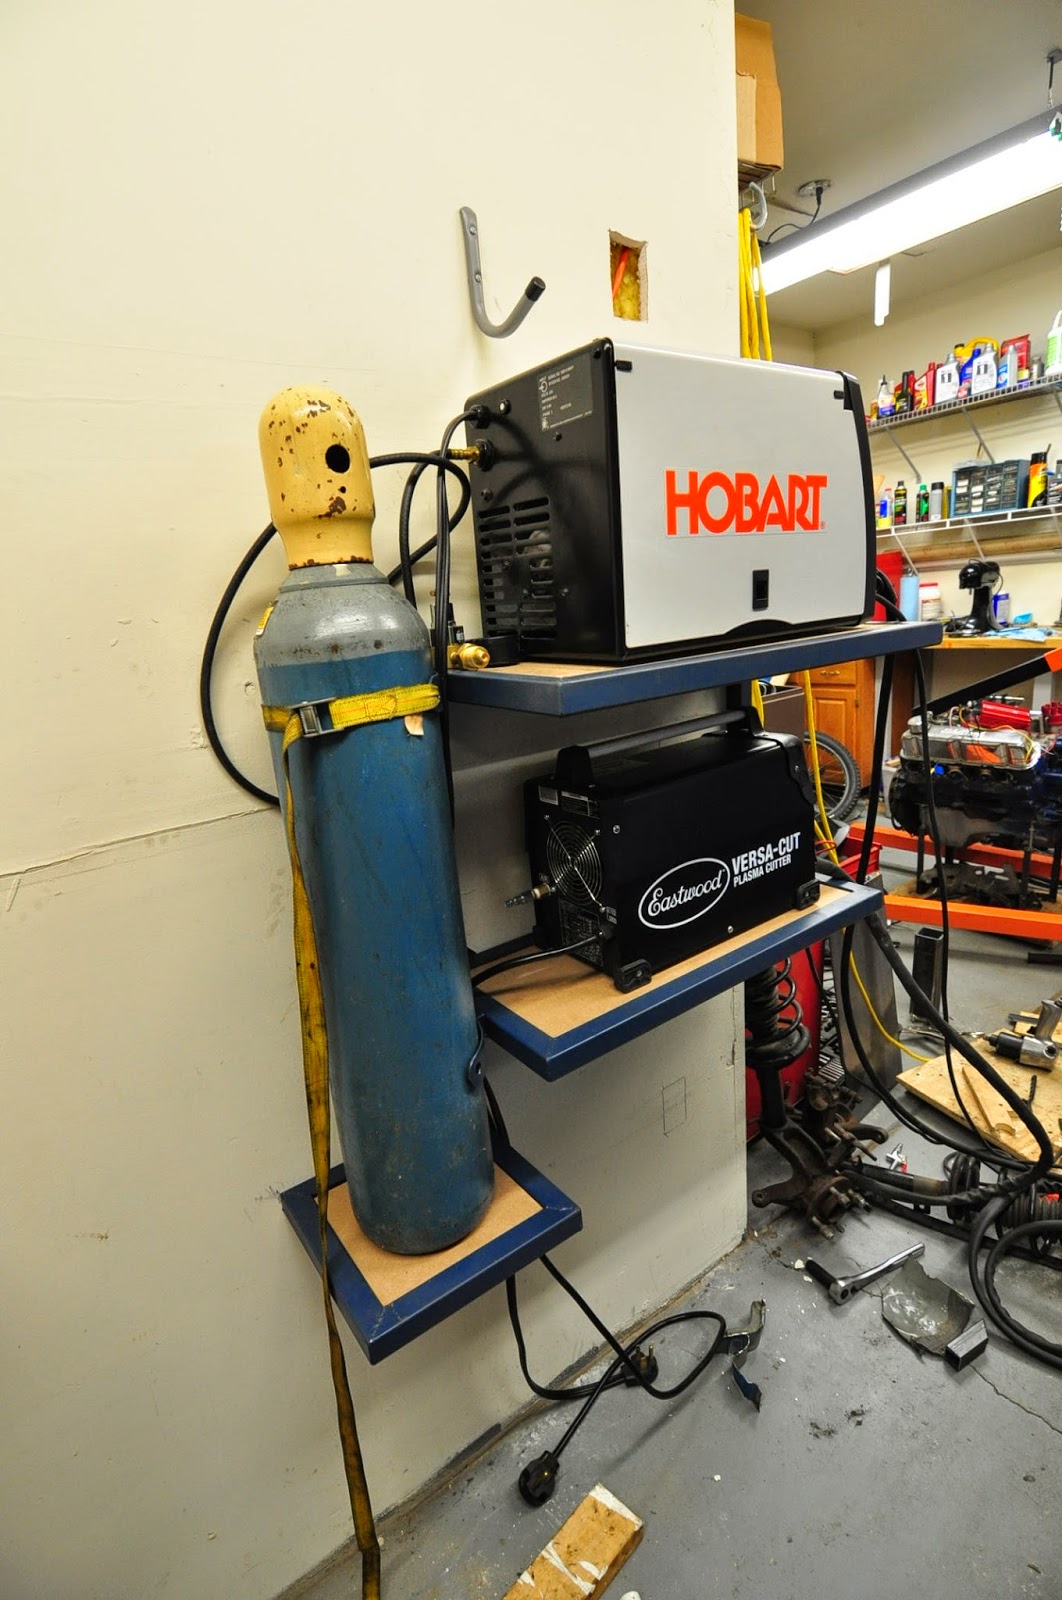
 3/4 MDF for the shelves.  I stood on the gas bottle shelf and jumped up and down.  Nothing moved.  Nevertheless I went ahead and added a couple gussets.  I did a quick FEA and it suggested that the stress may be almost half at the root when a gusset is used.

I just need to get some harbor freight straps and shorten the length to permanently attach the gas bottle.  I also need to add a few hooks to hang all the hoses and accessories.  Then I need to clean for a few more days before getting back to the car.