Tuesday, October 7, 2014

transmission mount...


I put a heavy bevel on the bushes to make sure they press through the other side of the tube.  I also countersunk the tube to make sure that the weld gets below the surface and seals things up nice.

Since my McMaster order came I could finally tap the mounting bosses.  These were a real pain to tap!  I also lathed the ends down a little.  I want everything to fit easily so nothing is hard over waiting to not go together later.  Welding will ultimately hold everything, so a little room to move now won't hurt anything.  Also, losing the mill scale on the end will make a much better weld.

Squeezy McSqueeze:


 Zap, grind, job done.  Next is to mount the bosses in the floor.


Sunday, October 5, 2014

transmission bracket progress


I decided not to use the bending technique from the other day.  I started laying it out, and just didn't believe that I would be able to lay it out well enough with 4 bends to fit well.  And for something under the middle of the car I choose good fit and ease of fabrication over good looks.

Even so, Figuring out the order to do these many steps to ensure everything goes together took some reasoning.  Here are a couple pieces held in place:


 Here is the result of weld up (fit ended up perfect):

I had decided on 3/8 for the bolts to the floor, but reconsidered and went 7/16-14.  Unfortunately 7/16 is the only bottoming tap in my whole set (odd?) and I can't start the hole.  I don't have the courage to power tap on the lathe yet.  Here are the two holes in the DS floor and the two studs.  I will make a doubler plate out of 1/8 or 3/16 plate and weld it all in once my taps and other bits get here from McMaster:


 Here is the transmission bracket with the center three bushings welded in and ground down and one of the frame rail bushings shown not installed:


Thursday, October 2, 2014

trans mount prep

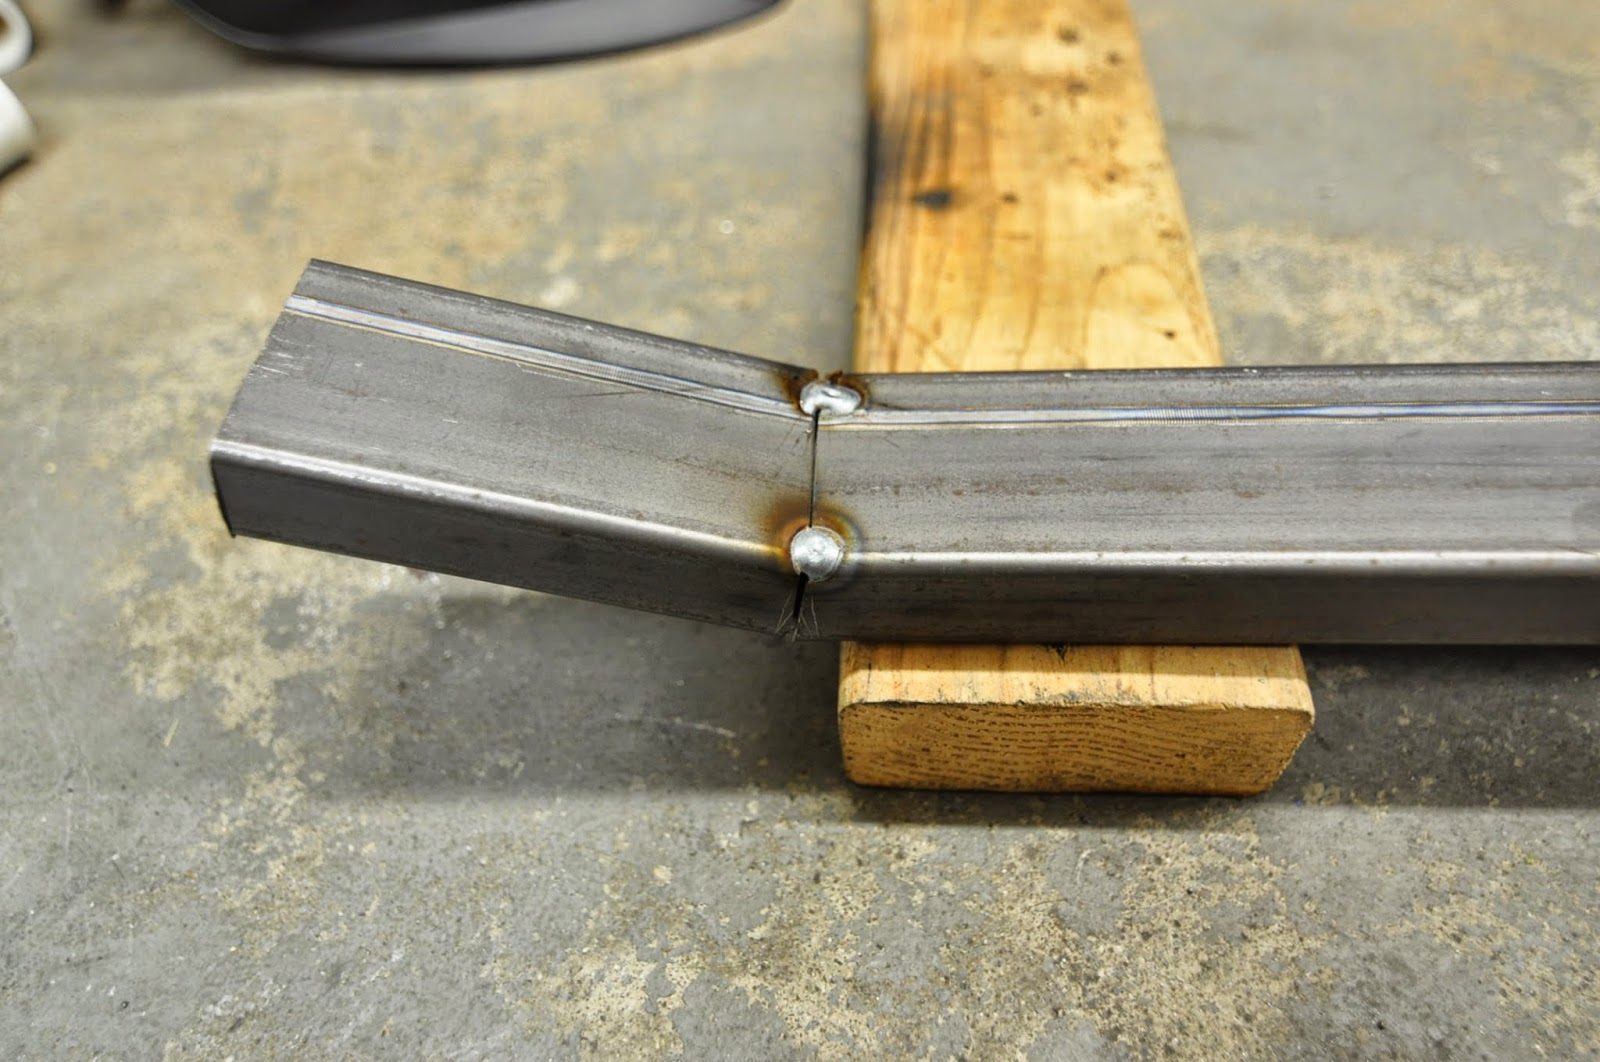
I got my new lathe tooling and got my metal for the transmission mount mount.  I read about a metal tube folding technique to make more natural looking bends in tubing.  I wasn't sure how accurate it would be for what I am trying to do, so I gave it a try:


On the whole I was happy with how it looked, and the angle ended up right on what I was trying to do.  I was worried about doing 4 of these and expecting everything to work out.  One option may be to make all the cuts, bend it close, bolt it into the car, then tack it together there.
 
I also made the first bush for the trans mount today:


Friday, September 26, 2014

PS mount weld in.

I decided that the PS mount should also be a weld in mount.  Rather than make another one, I will just weld in my bolt on mount.  Only problem is that it isn't drawn down all the way

Quick chop with the cutting disk to undo a few hours of previous work so that I can get better fit:


Grind off some more paint from big blue:


zap:


when I started the second half of the bead, I felt the wire poke through when I dwelled at the start too long.  I stopped right away and avoided a burn through.  It tells me though that I am getting good penetration if slowing down a slight bit will burn through.

I ordered my steel rods tonight and another box tube for the trans mount.

I also plugged the lathe in and checked everything out.  Something was boogered up with the carriage motor drive coupling.  I expect to have to make a new piece.  First lathe project I guess.

Thursday, September 25, 2014

Trans mount design


There were a couple options for the trans mount.  I can summarize them into two categories as shown below in the diagram which is aft looking forward (gray is the transmission, red is the mount).  I won’t get into the details of the benefits for each except to say, that attachment to the frame rails is by far more typical. 

I expect vibe to be significant here, and I did run a quick FEA to check frequencies.  I will be making this mount out of 1 x 2 steel tube,  I had planned to drill through the outside face large and just bolt the inner skin to each location.  This makes much lower frequencies than if a sleeve:

Model was fixed at hole locations.  60lbm was placed on the lower section of the beam.

Mounting with 4 screws instead of 2 makes a big difference as well.  And wall thickness matters a lot.  I have .060 laying around.  I think I will order some .120 wall for this.
 
While I don’t expect a lot of load to transmit through this mount, the frame rail was not designed for this connection. Neither was the floor.  Simply bolting through both would crush the rail if I torque things down, and would not be secure if I didn’t.  Also, there is not really as much draft on the rail as it appears in my diagrams so it may not be well positioned to handle lateral forces.  I thought a while about how to address these issues:

Left:  Bolt (brown) head welded to floor (blue).  Transmission mount (black) sleeved with welded in steel bushing (gray).  Down side is possible rail crushing.  Bolt length is long and unsupported.
Middle:  Frame rail is bushed as well.  Bushing is welded to rail and ground flush.  Much improvement over version on left.  Bush ties rail and floor together and prevents crushing.  Downside is that trans mount slides over 4 studs at once, alignment may be tricky, and thread damage is likely.  Threads are difficult to repair or replace.  Also popping bushing welds is possible and would dramatically reduce the performance of this approach. Nevertheless, this is the way I would go if I didn't have the lathe.
Right:  Best.  Lathed part welded to floor and rail.  Low profile to minimize carpet bump inside car and reduce chance of tearing floor.  Internal threads address issued of design in middle.  Part would function as inteneded even without welding.

Wednesday, September 24, 2014

Lathe prep

I have been designing the transmission mount.  I had a bunch of ideas, but I couldn't decide which way I wanted to go until earlier this evening.  I will have to make a part on the Lathe.

Oh yeah the Lathe.  I got it a while back and haven't needed it yet.  I have to switch the power to a two gang box, and I need Lathe tooling.

Tonight I finally went for it and ordered the tooling I need.  I saw my choices as:
MSC
Enco
Shars
CDCO

In the order of decreasing price and selection.  I went with Enco and found some good deals and I think I have what I need to get going for less than $200.
-Dial test indicator
-Some center drills
-Boring bar set
-Some indexable turning tools and inserts
-Cutoff blades

I am going back out to swap out the box this evening.  I will show my tranny mount designs in another post.

Saturday, September 20, 2014

Finished the bracket pieces today and welded them onto the frame.  First I transferred the mounting hole onto the bracket and eyeballed the center with a transfer punch.  I had to take a picture because I didn't totally hack it up this time:

I wanted to do some plug welds to help make sure the bracket never comes loose.  I hate drilling holes so I experimented with sweeping the plasma around the inside of a large hole through a piece of wood.  In the end I decided that it looks too bad.  Maybe somewhere that will never be seen but not for these.

Welding to the frame is dodgy business for two reasons.  One there is a doubler there, but I can't tell if the doubler is everywhere I will be welding.  So really I have no idea how thick I am welding to, and I can not inspect the back side.  And if I burn through it will set me back weeks.  Yeah dodgy.

First tack all the pieces together:


Now the dodgy part.  Once all the pieces are welded together, I have to weld them to the frame.  These are my first out of position welds.  Normally you position your work piece so that you are welding on a flat surface.  By welding up and down, the puddle is trying to fall off.  Looks like it worked, but I can't be sure about penetration.  I will fill the plugs and stitch up the back next time the engine is out.


I think I may have to replace or weld in the PS monstrosity:

This is great though.  I technically don't need my engine stand any more.  I can also take out and put the engine back in the exact right spot quickly every time.  This is huge.  I have a couple additional thrust mounts to do, and the tranny mount and then on to the steering.