Friday, June 27, 2014

3 subframes in at once

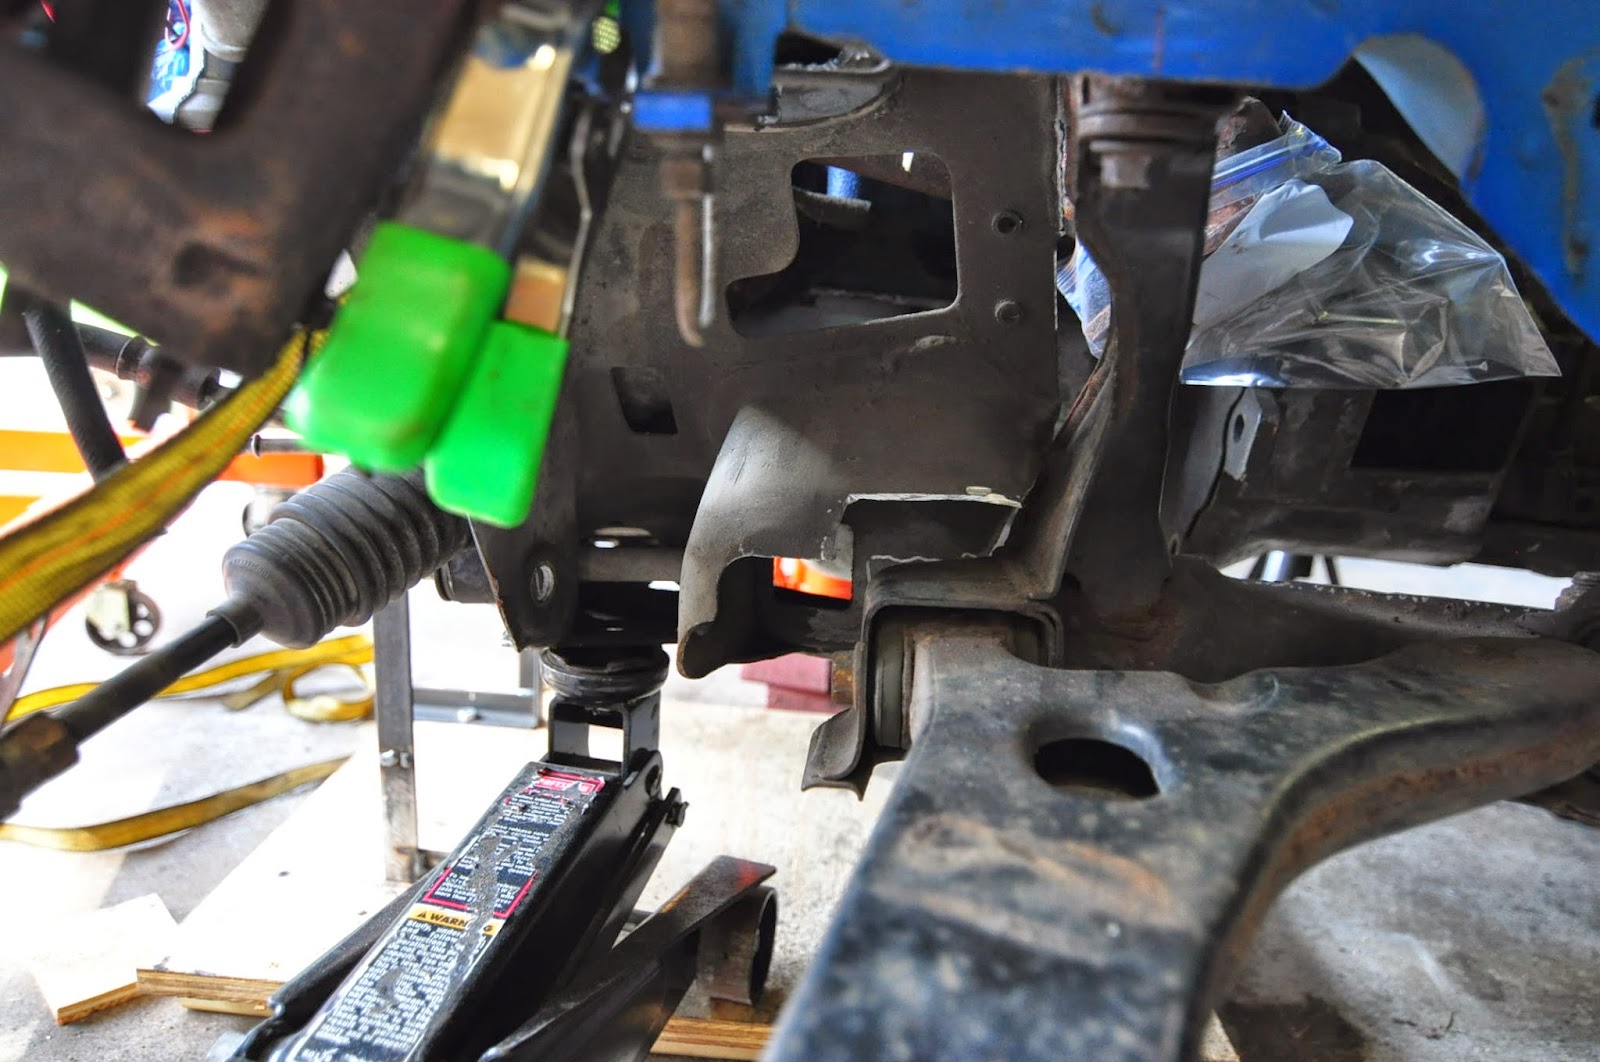
I cut off the PS today which went pretty quickly.  Frame can be set into the right place now.  It is starting to look like something:


It didn't take long to get used to the plasma cutter and start to cut more steady and where I want to.  I won't however get used to molten blobs of steel falling down the cuff of my glove.  I also tried using my auto darkening welding helmet for when I was reaching in at a weird angle and could see the arc clearly.  For some reason the hood would not stay on and kept flicking back to its default #3 shade.


Tuesday, June 24, 2014

subframe fine tuning

Today I shimmed the subframe to the right height on top of a furniture dolly so I could check fit, pull it out cut, repeat.  It worked well.  It was also the right call to take the engine out again.  It made it easy to see how the two subframes will come together and gave me some ideas on how to connect them.

Yesterday when I got started I noticed that my plasma cutter didn't cut like Joe's.  Part of that is Miller >> junk.  But today, I turned the voltage way up, made sure I wouldn't run out of air pressure, and ground a really good ground to use. One or all of those made a huge difference.  I also noticed that my lungs hurt a little today when I woke up.  I normally don't suck much fumes up welding, but this seems to be a different animal.  I noticed today after cutting about 10 inches that the whole garage was filled with white smoke.  Probably need to do this with the windows open and a fan.

Here is the rack and subframe leveled and shimmed to the right height

Here is the initial fit.  I need the subframe to move to the left of this image about 4 more inches.

Zap!  Where have you been all my life, sweetheart?


Monday, June 23, 2014

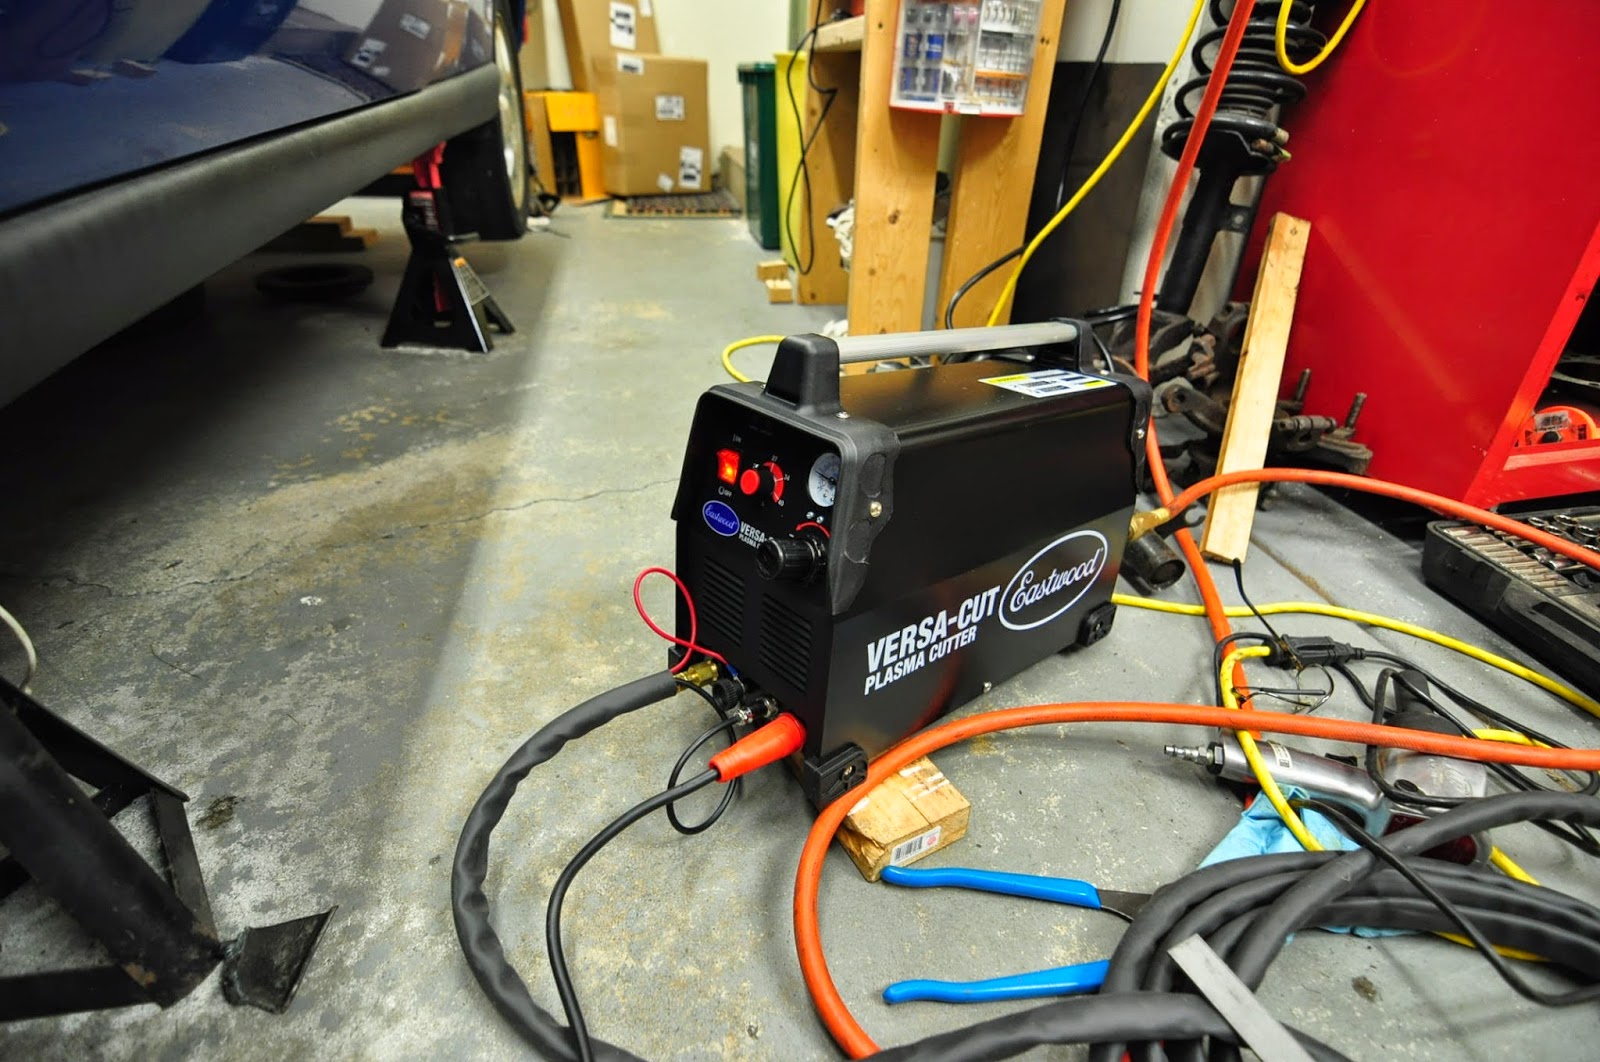
plasma score

After so many hours of making an enormous mess with cutting discs, cutting in cramped spaces, having countless discs explode in my face, kickbacks, and having to nibble out curves, I saw the light yesterday (ridiculous pun intended).  I dropped by Eastwood today in Pottstown and snagged a plasma cutter since it was on sale (best wife ever BTW).


It is a very weird feeling to get no feedback at all while cutting.  When you cut things any other way you can feel cutters strain under load and use it to judge your speed.  It is really empowering and a bit spooky to make zero effort moving the cutter.


It seems that 45000°F plasma is not good for garage floor paint (who could have guessed that?) Not much I do out there is good for garage floor paint. (Honestly, is there a better way to move a transmission than dragging?)  I will have to make an effort though because this is a little over the top.

Sunday, June 22, 2014

Plasma FTW

I got a full day out there in today.  I sort of needed it as this subframe business was getting nowhere with 1-2 hours per day.

I layed out the Focus subframe and the Mustang subframe and drew a line for what needed to come off initially so that I could get everything together and start laying things out.  I started into it with a cutting disc.  I was put off by the weird angles and cuts that would have to meet up, and by the mess I was about to make.

I dragged the subframe next door and asked my neighbor if I could use his plasma cutter.  Holy smoke I couldn't believe how much easier that was.  What would have taken me an hour and a half was done in literally 5 minutes.  I am really rethinking about getting one of these now.  I still have all the chassis work to do on the back end of the car, and Eastwood is having a sale on theirs right now.  Only downside is that with a cutting disc you have time to contemplate on something dumb you are about to do.  With the plasma it is already done.


Plan for the second half of the day in red.  Green is the subframe position from hard points on the car.

Step 7.

Step 9.


Thursday, June 19, 2014

Subframe trimming

Had to cut the subframe to fit between the frame rails:
Was:
is:

Spring perch x section:

I am always amazed at what an angle grinder can do.  They are really cheap, can go through the thickness of this 10ga steel in less than 4 seconds, accurate enough to slice off a paper thin piece of steel, and can debur this whole part as quickly as you can move it.


When I slid this up into place I noticed a few things.  The rack mounts are actually not supposed to be centered in the car.  Also note in the above images how unsymmetric the engine mount bosses are relative to the symmetry of the cross member.  I am not sure yet why that is but I have a theory to check out tomorrow.


Sunday, June 15, 2014

Subframe the easy(?) way

I made it to the Pypes car show this weekend. It seemed a bit bigger than the other years I have gone.  There was a beautiful white Mach 1 fastback with a 460 and flat black side pipes peeking out that was just incredible.  It is one of those where you see it and just think, "if I could just have that, then my car itch is completely scratched for good."  no camera :-(

I was looking at the engine mounts in all the cars.  I am again not liking the little 1.25 tubing that I am trying to sneak through that tiny space to hold my engine.  Everything at the show had very stout mounts.  I started thinking about some alternatives.  I was wondering how the mustang subframe dodged the rack so I took a look.  Then started thinking I should just modify and use that...
The engine mount has a pass through for the rack.

Yeah, I will just have that, and amortize the mustang expense over some more harvested parts: 

Briefly contemplated leaving the control arms on and just using the mustang suspension.
The good:
track width is right
better brakes
no bump steer
ackerman
The bad:
shock towers are off by about 4 inches per side
Height is wrong
Wheels not in the right spot for forward/aft

Here is a view with the subframe up under the car.  I think I will nibble a bit off the spring perch to let it pass inside the rails.   Maybe I can make some brackets to mate with the rails and then hold the frame.
 

Saturday, June 7, 2014

Falling into place

I chopped out more tunnel.  The engine came up another inch.  The original headers now clear everything.  There will be a lot less trouble dealing with bump steer and the ground clearance is now over 5 inches.  Both the suspension frame bits and the engine frame bits will be lighter, stiffer and stronger.  I'm glad I saw this problem through before moving on.  I feel confident now that I haven't left harder problems for later that could set me back.


was:


is:


I was worried about loosing the tunnel structure a while back.  Especially since it seems to have stiffening sections on the top of it.  I want to point out the two huge oval holes through the fire wall next to the tunnel (steering column and heater core).  Also note that they have no doublers.  Sort of adds to my suspicion that this is ok to do.
Flanges clear!  

I know it's rookie to buy and return two sets of headers and go out daily to chop a little more and a little more of the tunnel.  I am a little afraid to look back and see when I started this step of the build.  I am learning a lot as I go through this, and I am trying to pass on what I learn, especially if it is stuff that I don't find from reading other build threads, books, or forums.  

I want to pause and mention that I am grateful for the ideas, guidance, tools, and help that so many of you have offered up.