I finished the driver's side tonight so the 4 link is done and installed. Here are the finished pictures forward looking aft.
Driver's side:
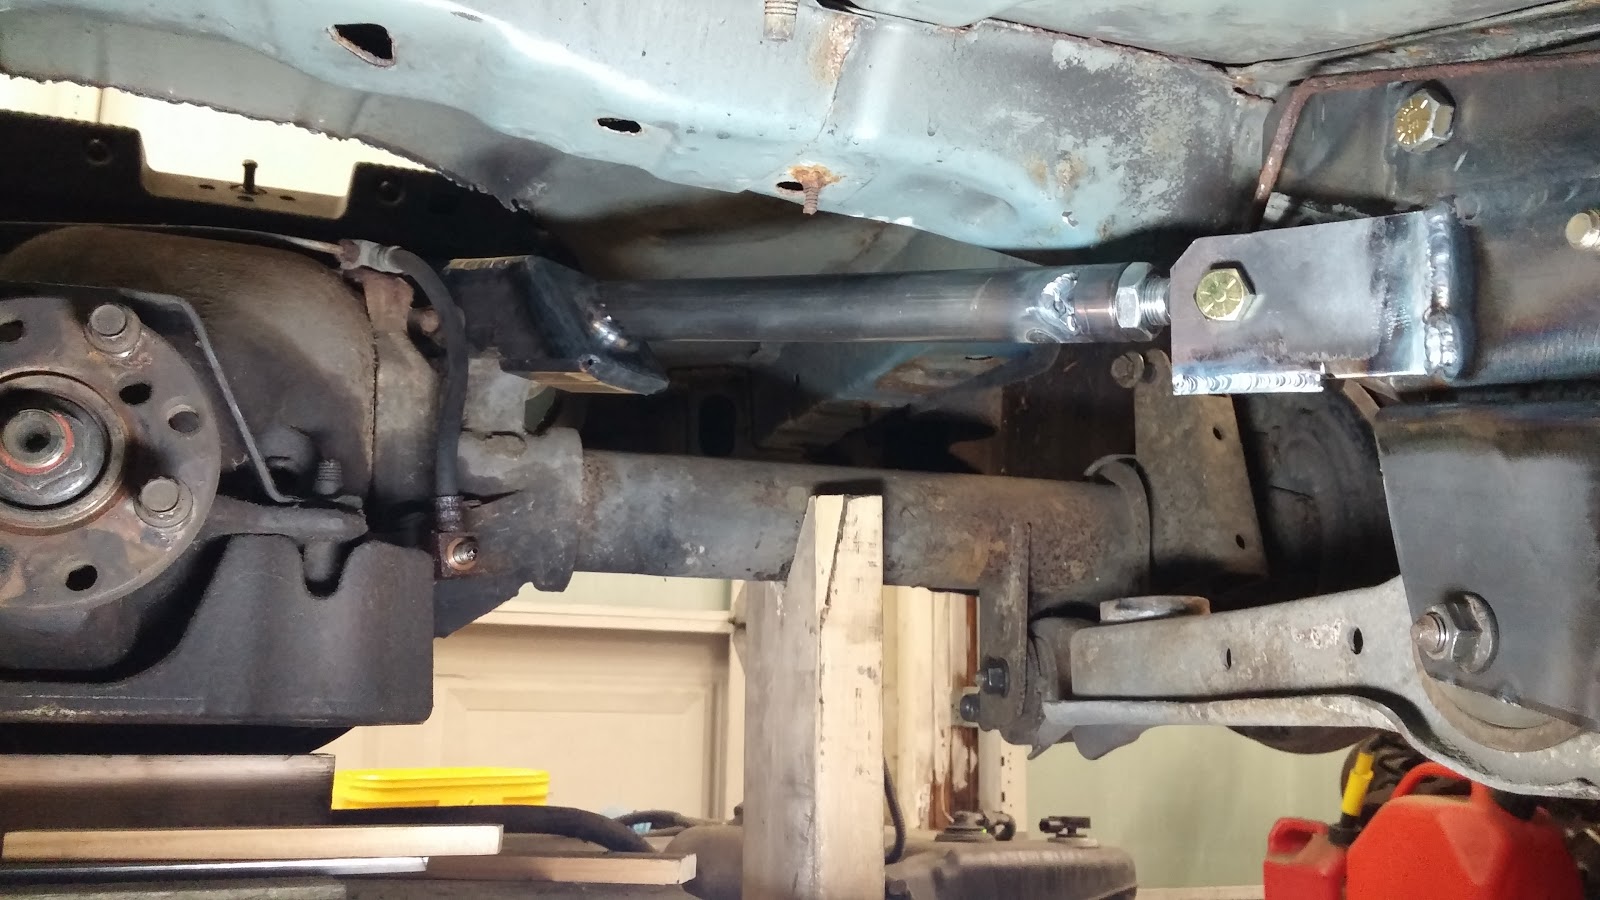
Passengers side:
As soon as I was done I tried to shove the axle laterally. It didn't budge and felt really solidly connected to the car. Then I picked up the axle by the brake drum. It came up easily with the other side still down heavy on the stand, which shows that there is no roll bind. Next I went under the car and pulled out the shim that was holding the pinion at the angle I wanted. It didn't move at all. After removing the shim, I pulled down hard on the pinion and it didn't move at all.
I am super excited that this is working so well. Everything is right where it is supposed to be. The things that are supposed to move do, and the things that aren't don't. Here are a couple pics from teh last couple days of fab on the driver's side:
Here is the second upper control arm clevis
Reused the positioning fixture:
Upper control arm tube weld:
First bracket piece tacked in place
Welding on the upper mount. Holding the torch upside down and clamping the hose to the sawhorse was the hot setup:
First part of the bracket welded on:
Here is the bracket with the upper control arm mount done
Beginning of the upper control arm tube adapter weld in. I do this last so that I can bolt the clevis to the differential, and the the rod end into the upper bracket mount. Then I can turn the loose tube adapter to extend or retract the rod end until the length is perfect. Then I tack it to the tube and remove the control arm to weld fully.
I used mig for the rosette welds. It works beautifully. The uglier sides are where I fish mouth the tube. Prepare to win recommends this as opposed to just welding all the way around as it puts some of the weld in shear instead of tension. If nothing else it significantly increases the weld area.
Looking back I chose triangulated 4 link to avoid having to weld brackets to the axle housing which stressed me out. I think now after all this fabrication I would feel pretty comfortable welding on an axle housing in the future. Since I bought my welder I have used >3/4 of an 80 cubic foot argon tank with the flow rate on 20cf/hour. So I may have as much as 3 hours of torch time. It didn't seem like that much. All that has been with steel, but wildly different positions, shapes, and thicknesses.
From where I stand now, I still think triangulated 4 link was the way to go and am very happy to have reached this huge milestone. This was the last of the really difficult things to do (aside from the headers). I feel like this is definitely going to happen now, and feel more comfortable with the inevitable endless check writing that is needed to do the fuel system.


