Sunday, June 28, 2015

making room for the axle

Pulled out my gas tank with 2 year old gas in it.  Drained some, filtered it and ran it in the lawn mower.  Seemed to run fine.  Put some in my wife's car and the rest fit in gas cans.  Glad I didn't have to pour it over the heads of baby bunnies or anything like that.
 
So I put the axle under the car and slid the wheels on.  The spare tire well is in the way as you can see here where the axle is still too low:
 
Here is the last unmolested area of my car:
 
 Lested:
 
 
I wrote down the fender gap before starting this project; 3 inches.  Here is the wheels now at 3.5 inches:
 
Not very visible from the back which is good.  I think not using a bright shiny diff cover helps with this.


Saturday, June 27, 2015

focus rear subframe out

back from vacation.  Pulled out the focus rear subframe today.  It was pretty hard to get out for just 6 bolts, two shocks, 2 ebrake cables, and 2 brake hoses:


 Here was a nice surprise:  
this is the Mustang brake drum inside the focus wheel... same bolt pattern I think.  Which means I won't have to redrill the hubs.  If this is right, it may be the first thing that hasn't been the hardest it could be.  The studs are larger for the mustang, so I may need to do something creative there.

I pulled out the exhaust and the rest of the heat shielding.  Will get some shots under the car once the fuel tank is out.

Monday, June 15, 2015

V8 no wheel drive

Here it is. Ready to go nowhere.
 

Time to get started on the back end.  I put the mustang on some harborfreight furniture dollies.  This was not the best move.  When I was rolling the car around later one of the casters exploded and left the car stranded in the middle of the driveway.  I still need a better way to move a wheel-less car around.
 
6 bolts, two ebrake cables, and a brake hose later:  Axle out.

Friday, June 12, 2015

brake line relocation


Since I swapped knuckles to put the steering arm in the front, the brake calipers are now in the back.  The brake hoses don't reach the original hook ups to the chassis, so I had to move those:

Here is the line not reaching.  You can see that as the wheels would turn the other way, the brake hose would get stretched:

Spot weld cutter to remove the bracket:

Clamp it 4 inches to the left and weld inside the holes:


I used a M10 brake union to connect the z shaped brake line that I bent.  Since this mates with the Focus lines and hoses we have to use bubble flare here (not double flare like the clutch).  The Eastwood flare dies did this well.


Tuesday, June 9, 2015

birds

I was planning to trace some wires in the Mustang yesterday But when cleaning things up in there I found a bird's nest in the battery tray.  Looks like I am done in there for a few weeks.  I sure hope I didn't disturb things badly enough to make a difference.


Sunday, June 7, 2015

final engine assembly and install

I didn't have a clutch aligning tool.  I measured my input shaft and 3D printed one.  I could have used support material so the ring would look better.  I printed this vertically so that there would be good accuracy on the diameter.

Worked great.  Transmission slid right on.  I found  in my book after putting the clutch back in that the clutch disk should be replaced if below .290.  I think I am well below that, but decided to get it running first.
Engine goes back in:


I put in the accessories and radiator.  Hood closes no problem.


space monkey

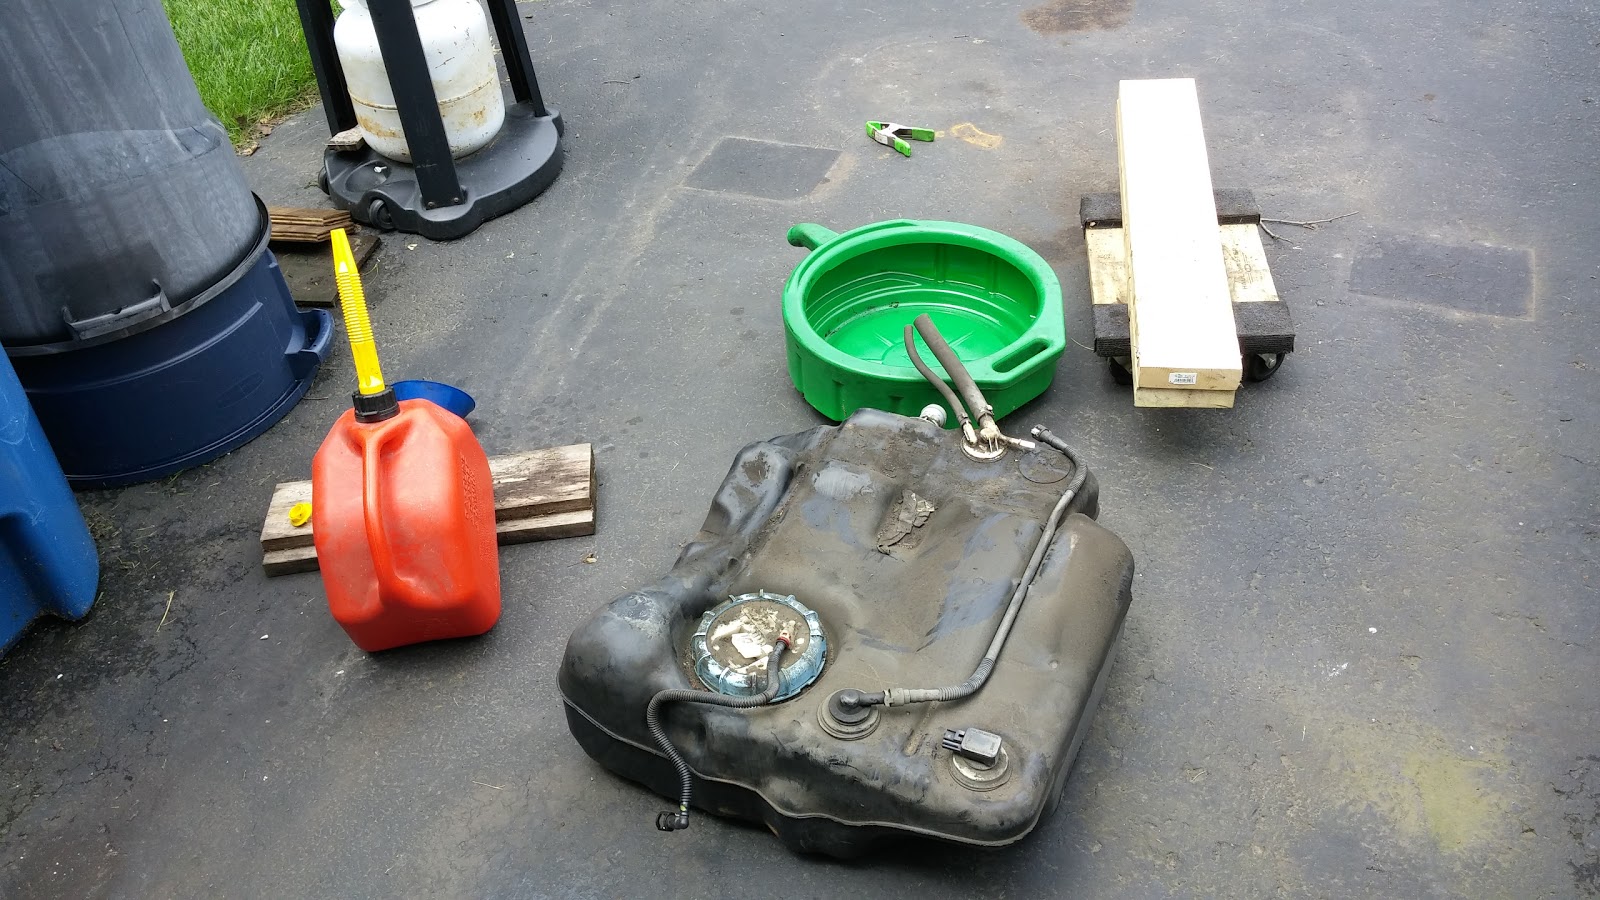
I put the heater back in the car.  It fit pretty much perfectly.  I won't be able to reinstall the ductwork under it that pipes air to the back of the car.  Fooling with this unit I saw that it was here that my AC was leaking (green dye everywhere inside).  If I want to repair my AC, I will need a new evaporator.


I noticed when I installed my sump that my cork gasket squirted out.  I loosened the sump, shoved in back in and retightened, then thought about how annoying it would be to have it leak badly at start up.  I ordered a one piece rubber ford racing gasket that has a metal core.  Worth a few bucks to be sure I won't have an issue:


 Here is the torn cork gasket coming out.  Note that I used the smallest continuous bead of RTV possible and that pretty much coated both sides with no RTV squeeze out (but may be why the cork squirted).

New gasket looks great in there:


 I wanted to prime the pump while everything was apart.  There is a special tool for this.  I used a 1/4 inch socket on an extension, but I risk getting it stuck in there.  The electric drill will spin this well, but gets hot.  The impact gun won't spin it without going into impact mode.  Air drill is the hot setup.  I spun it until I saw oil come out the lifters.  Then put the rods back in and spun it until there was a pool of oil on top of all the rockers.  #4 and #8 cylinders did not have oil come out.  I think they are just too far from the pump which I am not turning anywhere near fast enough with the drill.

Here is the other school of thought on RTV.  Everything I took apart was like this.  It is not the way to go.


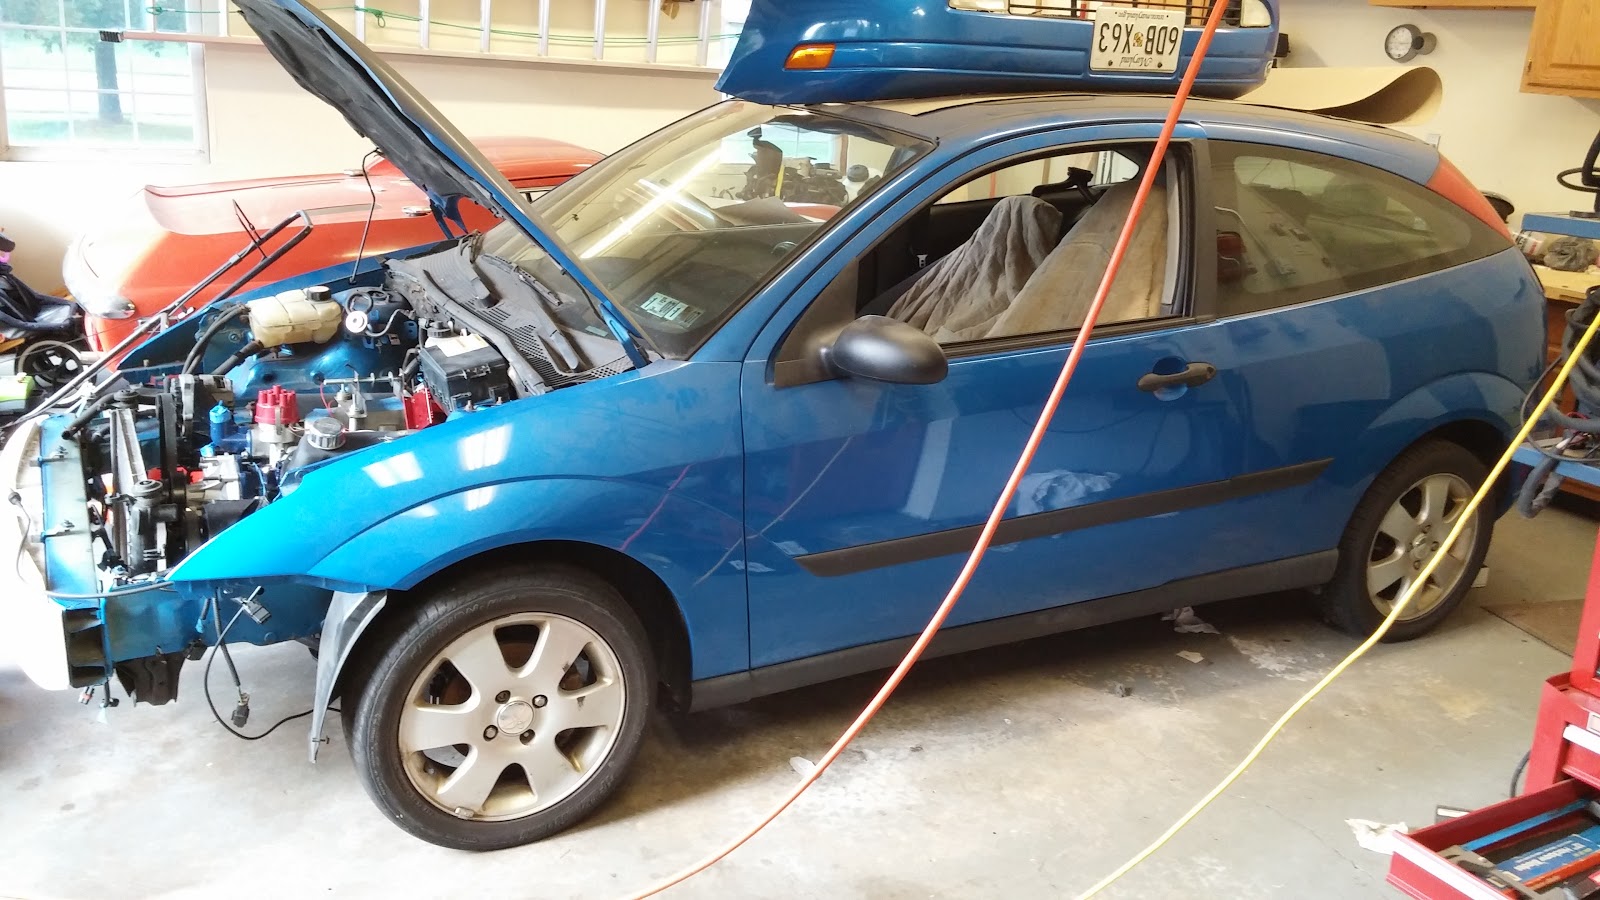
 Here it is: like a monkey ready to be shot into space.  Ready to sacrifice himself for the greater good.